Wednesday, May 27, 2009

photo to ilustration effect


1) open new image file

2) >> Go to FILTERS >> BLUR >> Smart Blur and set Radius: 100, Threshold: 100, Quality: High, Mode Normal. You will get a smooth, illustration like image.

3) >> Now go to FILTERS >> SHARPEN >> Unsharp Mask and set Amount: 60, Radius: 80, Threshold: 0

u'll get dis..:-)

That’s it. No extra steps. This effect is based on the Smart Blur filter which, when applied with the highest settings values, it gives an illustrated look to the image. The Unsharp Mask filter is applied to give more contrast and saturation to the image in one single step.

lovely roses..


a bunch of roses lying on d sand, I think dis is an incredible scene becoz d contrast between d red roses n black sand is amazing!

Tuesday, May 26, 2009

sepetang bersama....


venue: Taman Puteri, UUM


Tuesday, May 19, 2009

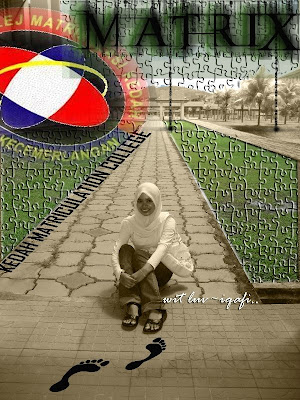
make it puzzleD


ni gmbar masa kt matrik..touchUp sikit2..hehehe

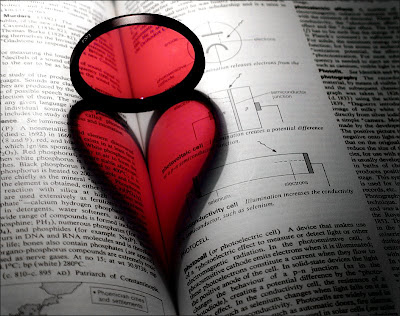
book worm..heee


ika combine 3 gambar atas ni...tadaaa..jadik gmbr bwh ni..hehe

drop ink


bile dh tkde keje sgt..ni la keje nya..asik mengedit gambar je..hehehe..
senang sgt2 nk buat ni..just cari gambar backround tu..then letak pic kite..
tp kene skew n wrap,so gambar kite leh jadik terlentang gitu..hehehe..:-)

Monday, May 18, 2009

Eid Mubarak..

ni kad raya ika design tahun lepas..hehehe...

suspenseful photo !!

Jom blaja how to create a suspenseful photo manipulation in Photoshop.Create realistic distortions wit d displace filter n apply photo effects to give it a cold look.

1) first..korg kene ada gambar ala2 cam kt bwh ni..kalo gmbar org pgg pistol lg okey..hehe..ni ika guna gambar adik

2) pastu korang kena ade gambar cermin kene shoot ni..alaa..google jek..senang
3) open gmbar korang tadi kt adobe photoshop..pastu file -> place..browse gambar mirror tadi k4) rotate n enlarge image tu..agak2 sesuai yek..

5) Kat layers palette wit d top layer selected, change d blending mode to screen.

6) tadaaa..siap!

Sunday, May 17, 2009

swim in d glass!

for those who cant swim..u now can swim in d glass..keke
tadaaa..ni yg ika wat..letak gambar adik2 lam gelas..hehehe

1. mula cari gmbar gelas.. yg korg rasa ok la..mangkuk pun tkpe..hehe

2.
Resize it,kalo rase too big.

3. pastu cari photo of ocean, this 1 is great ->
http://www.sxc.hu/photo/890259

4. Copy and paste it to our glass doc.

5. If it’s much smaller than glass, resize glass once again.

6. Reduce ocean layer’s Opacity to about 30%, so boleh nmpk gelas skrg.

7. pilih Polygonal Lasso Tool.
8. On ocean’s layer make a selection like this:
9. Press CTRL+SHIFT+I to select inverse, then Delete to delete it.

10. Press CTRL+D to deselect.

11.
Choose Pen Tool.

12. Try to get selection like this (Click and drag to get more curvy shape):
13. Go to Paths tab, right click on your new path and click Make Selection, then OK.

Make selection

14. Go back to Layers tab, choose ocean’s layer and press Delete to delete selection, delete also “Shape 1″ layer.

15. I should correct upper part of the glass. I’ll use Eraser Tool.

16. Set ocean’s layer Opacity to 50%, and set Layer Mode to Overlay.

17. Repeat steps 11-13 to get selection like this:

18. Select ocean’s layer and apply Ocean Ripple filter (Filter -> Disort -> Ocean Ripple) with these settings:

19. Done :)

Clone Stamp Tool

Cuba teka..bape org sebenarnye lam gmbar ni..:-)